My latest youtube video shows how I turn my segmented birds. This certainly wasn’t my idea, I found pictures of this online while researching project ideas.
I immediately fell in love with these little creations and found they’re a great way of using up scraps. The idea is to glue up a blank where the sides and top are of a contrasting wood to the main body. The main body blank should be around twice the thickness of the side/wing pieces. This will ensure that most of the material being turned away while shaping is taken away from the wing parts. It can be a bit hard to imagine what the end product is going to look like, so I will demonstrate with a few diagrams.
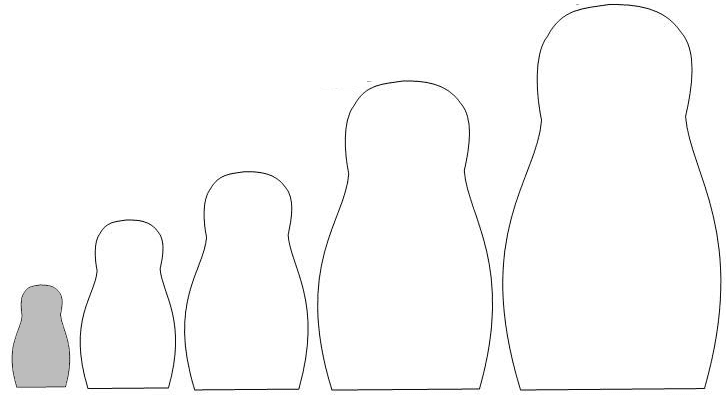
Below you can see that the blue shape is the bird you will end up with and the clear box around it represents the blank.
For the head, I like to cut a mitred piece (45° is fine, but not critical). this will result is a nice arc which gives you a visual separation between head and body. As I said the wing parts should be thick enough or you will loose most of them when you’re shaping the bird. Personally I dont measure the pieces too much, I just try to get the resulting blank somewhat square. But the head can be quite a bit smaller as most of that will be turned down anyway. You can see this in my video.
Here’s how a perfect blank would look. I used 3 colors to indicate the different parts, but nothing is stopping you from using the same wood species for the head and the wings. You can even go bonkers and use all different woods, giving you two different wings.
TIP if the blank you glued up isn’t anywhere near square, you can glue another piece to the front. If you position it toward the center of the body you will end up with a round belly section. this could add some more character to you bird.
When you’re done shaping this is what the bird will look like. This shows you how the wings get rounded during shaping and the head and body get the nice separation. All you really have to do is turn the outline and the wood takes care of the rest.

After sanding and finishing all that is left is to turn (or carve) a small beak. Make a tenon on the end of it and make sure it’s the thickness of one of your drill bits. That way you can simply drill a hole into the head and glue the beak in and you’re done.
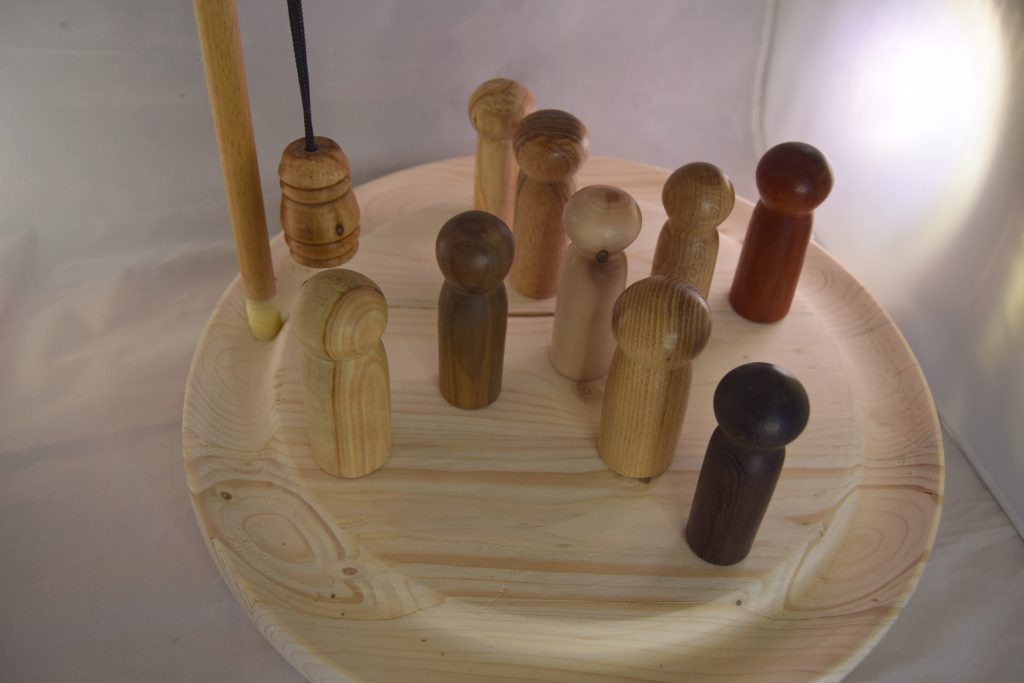
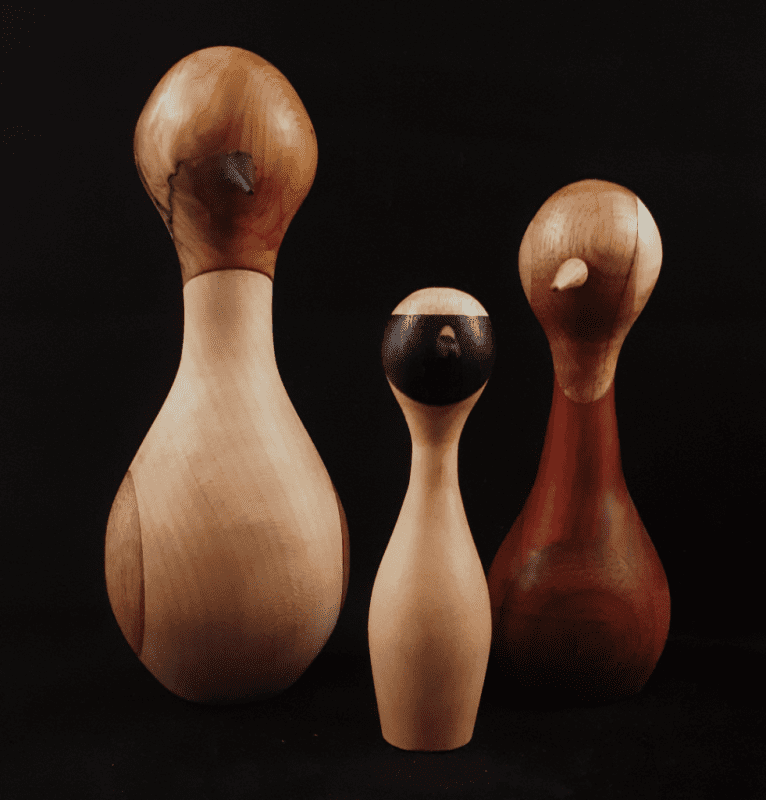
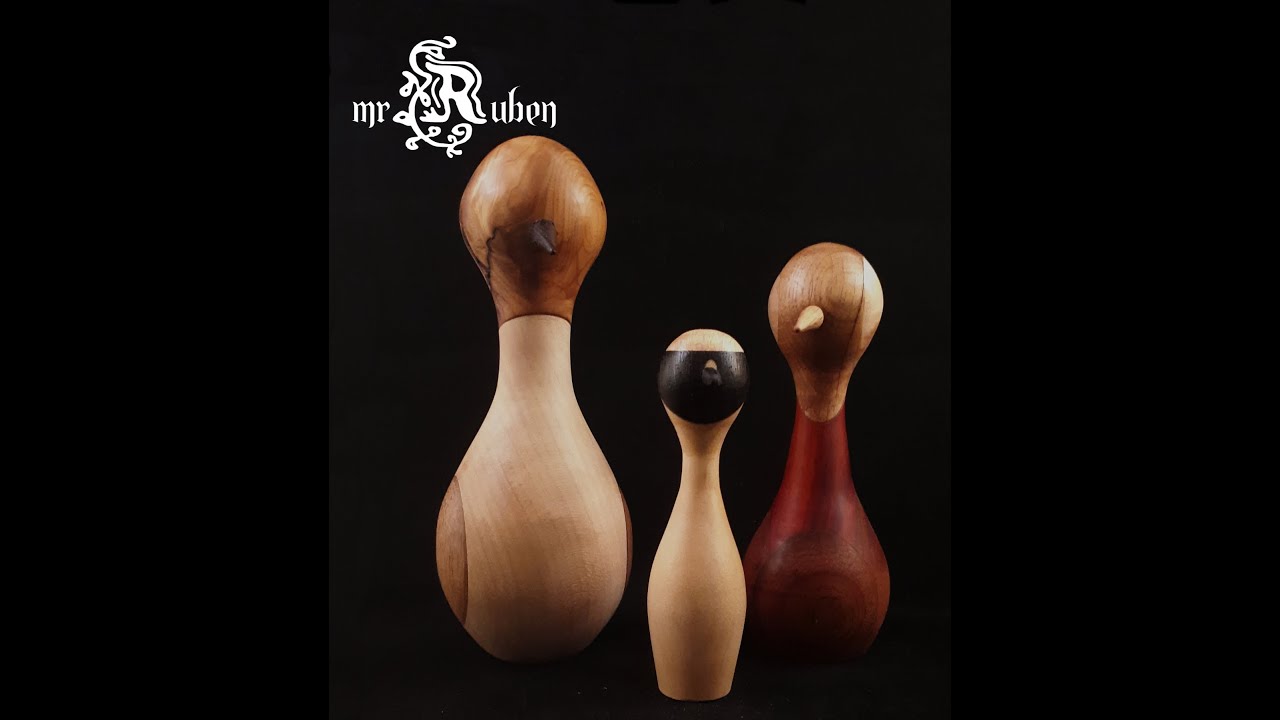
here’s a small gallery of some of my birds to give you an idea of the possibilities.
[ngg src=”galleries” ids=”21″ display=”basic_thumbnail” thumbnail_crop=”0″]As always this is not a definitive guide. It is only meant as inspiration and to get you started on your flock. Be warned! As with most turning projects they can be addictive, so prepare to drastically reduce your pile of offcuts.