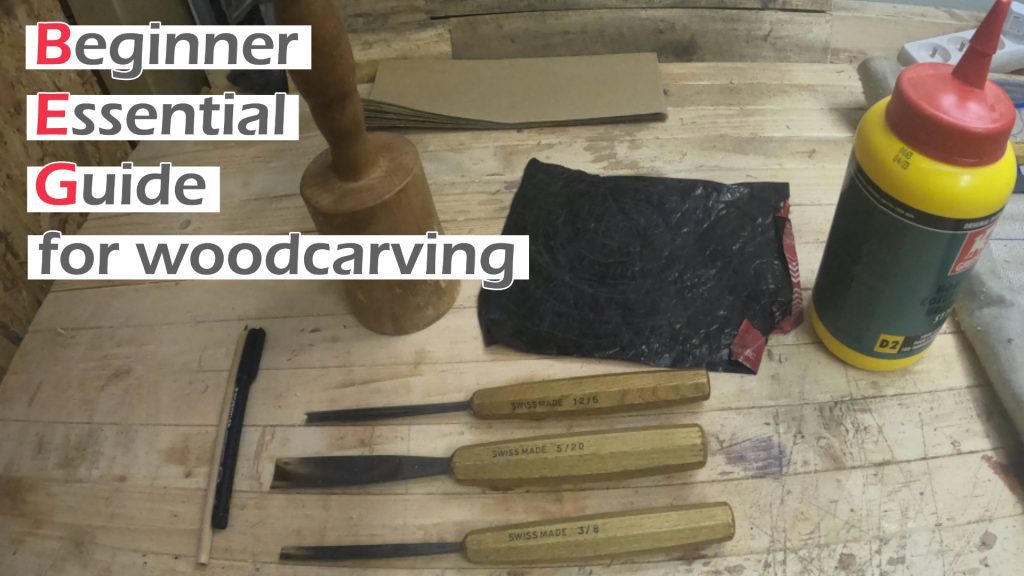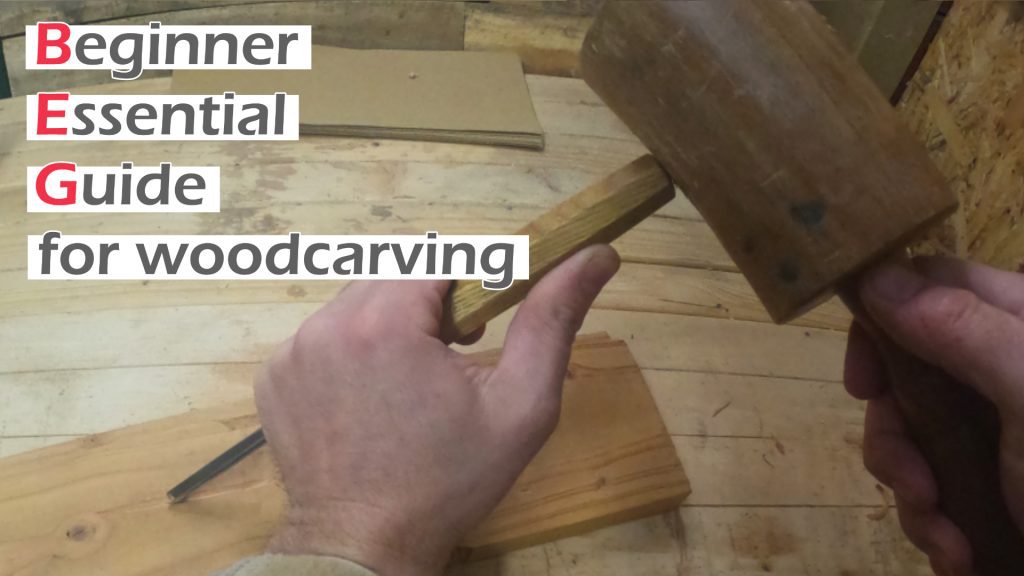
Pen turning tools
Like I mentioned in the overview, there are many tools for pen turners. Some are optional, but useful, others are needed. let’s start with the basic tools first. Obviously I’ll assume you are using a lathe as this is a tutorial series for beginning pen turners. Any lathe will do and if you aren’t sure what to get I suggest starting with a mini (second hand) lathe. once you know what type of projects you enjoy making, you can upgrade it. this is true for several other tools and equipment as well. you’ll see in the pictures that I’ve started with a cheap set of turning tools and upgraded the ones I used most often. The same goes for the safety equipment, you can start with a full face mask and a throw away dust mask. But do start with a full face shield! Safety glasses are not enough!
The items you’ll see in the pictures are my personal tools so you can see the actual equipment I use. Because of that most of them have some wear and tear.
Basic tools
pen mandrel
There is an option these days to buy specializes bushings that you can use between 2 centers. However this requires you to turn the 2 pen blanks separately and I prefer to turn them at once. For that you need a pen mandrel. this is essentially a small collet chuck with a steel rod you can slide in and out of it to accommodate different blank sizes. At the other end there is usually a brass nut to hold the blanks and a 60° center in the tail stock to support the mandrel while turning.
As I Mentioned in the overview I highly recommend getting a pen mandrel saver from the start. this allows you to put the required pressure on the blanks and at the same time it prevents the steel rod from bending and damaging your 60° center.


Safety first
A full face shield and a basic dust mask are paramount. After turning a while I upgraded my dust mask to a more comfortable one with replaceable filters.


Another good safety tool to have is some hearing protection. Turning isn’t that loud, but drilling blanks can be, especially in hard woods. Recently I upgraded my hearing protection to the noise cancelling ISO tunes. These are also Bluetooth headphones, so I can protect my hearing and listen to music at the same time.


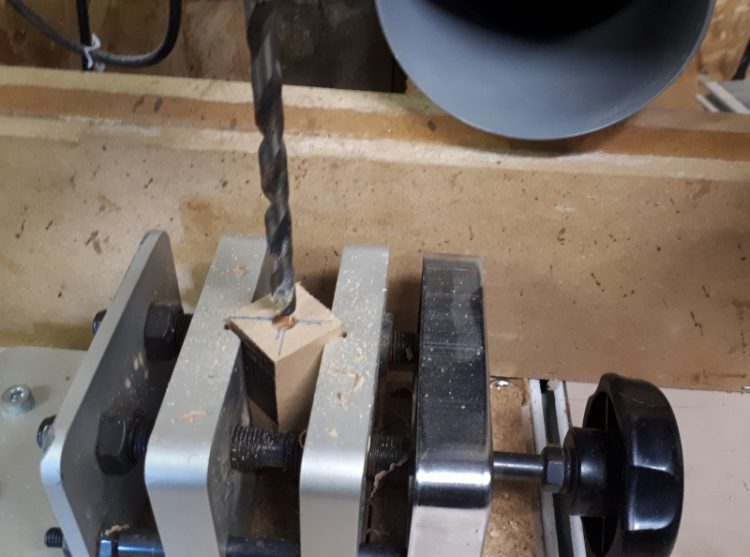
Drilling blanks
Now we are protected against dust, flying debris and loud noises we can start drilling blanks. To do that we need a center finder to mark the center of the blanks and a way of drilling the hole through them. There are several types of center finders, but for pen turning the plastic variety is more then adequate.
It has a 90° ridge on one side and a 45° ridge on the other side. the 45° allows is better to find the center on non square blanks. You simply register the correct ridge to one corner of the blank and draw a line through the center of the tool. If you do that on at least 2 corners of the blank you’ll end up with an X which marks the center perfectly.

When you choose to drill out your blanks on the drill press you can use a glue clamp or a pen blank centering vise. This is another optional tool that you could make yourself if you wanted to. All you need is a way to hold the blank in line with the drill bit so you can drill straight through the blank and come out the center at the other end. Now it doesn’t have to be the exact center, but you do need enough material around the hole to turn the pen shape you want.

The alternative is drilling your blanks on the lathe. To do that you need a Jacobs chuck to hold the drill bit in your tail stock and a scroll chuck with small jaws (usually #1). Now I do have number 1 jaws, but I admit I was too lazy to change the jaws. just imagine the correct jaws in the picture 🙂

After drilling the blanks, you can glue in the tubes once you scuffed them up a bit. To help with this and mostly to prevent getting glue all over your fingers you can buy a pen tube insertion tool. I admit I bought it on a whim, but hardly use it in practice. Mostly because I wear gloves and I get glue everywhere anyway.

Another tool I’ve stopped using is the pen mill. This tool is used to square off the ends of the blanks in relation to the tubes inside. This is required so that the bushings nicely seat against the blanks when you mount them on the lathe. I still square off the blanks, but I use a belt sander. I find it allows finer control over the amount of material you’re removing. The mill also has the potential to break the blank and shorten the tubes as the brass is easily cut away by the steel of the mill.
It’s not all bad though, a mill has the advantage of the drill bit that precisely fits the tube of your blank. that way it cleans away any glue or debris that got stuck inside the tubes.

Turning tools
I’ve mentioned before you can use any number of turning tools for pen turning. I mostly use a spindle roughing gouge to round over the blanks and a skew chisel for the finishing cuts. If I’m adding beads or coves to the pen, I will use a small spindle gouge. From time to time I do use a scraper, mostly on acrylics or segmented blanks with metal in them. The bottom two tools are still from my original set of cheap Chinese tools. I do need to sharpen the more as the steel isn’t the best quality, but they do the trick.

To give you an idea of my other tools Here is a picture of my lathe tool wall. I do love tools, so I’ve become a bit of a collector. As you can see I have other turning tools, used for bowls and other types of turning.

Sanding your pens
Now that your blanks are shaped into pretty pen parts, you will need to finish them. For sanding the tool marks away you can use any type of sand paper. I actually use a sanding cloth called Abranet. This works the same as sandpaper and comes In several grits. It is perforated, so the dust can pass through and it less prone to clogging. So even though it is a bit more expensive than regular sand paper, it lasts longer. As a second advantage it has a Velcro backing so I can use it on sanding discs as well. Those come in handy when I turn bowls.


After sanding to about 400 grit you can add a finish if you like a matte look on your pen. If you want a more shiny end result you can use a sanding paste. My brand of choice is Yorkshire Grit, but I’m sure there are others.

Finishing
My preferred finish for acrylics is CA glue. This is applied in several layers and finished with very high grid sanding pads called Micro mesh (again the brand I use). This set goes all the way up to 12000. The pads are color coded to remember which order to use them in. I don’t use them that often as I mostly make wooden pens. I made a simple holder for each pad and glued/taped the grit chart to the back.

For finishing wooden pens I use Doctor’s Woodshop “pens plus” and Hampshire sheen. The latter has several different versions for high gloss and even colored versions. I tend to use the pens plus more as it darkens the wood a tiny bit and really brings out the grain. The Hampshire sheen is my go to finish for medium size items such as Christmas trees, snowmen and so on.


Pressing the pen
As I said in the overview you can use a lathe, drill press or quick clamp to press the pen together. I used to use a quick clamp, but eventually upgraded to a pen press. This makes lining up the parts easier and give you a lot of control over the pressure applies to the parts.

What’s next
in the next part I’ll go over the actual making of a pen step by step.