Let us first explore the vast amount of tools that are available. If you want to dive in head first, many companies offer a so called starter set of tool that will allow you to hit the ground running. However if you are still in doubt whether this is the hobby for you or you just don’t have to budget to spend a few 100 euro on tools, this is the chapter for you!
I will go over the tools you really do need to get started, some alternatives and if they are worth considering..
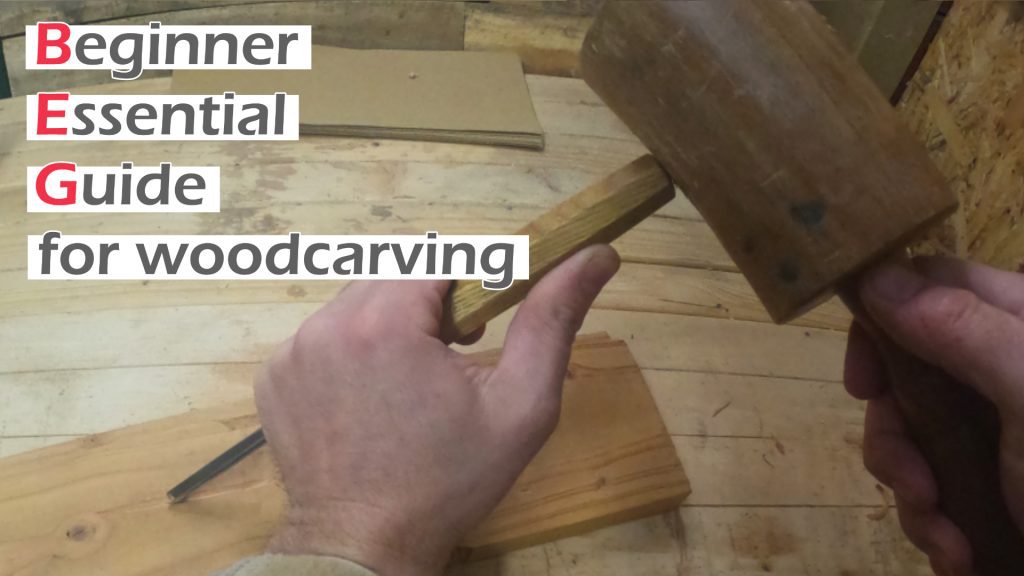
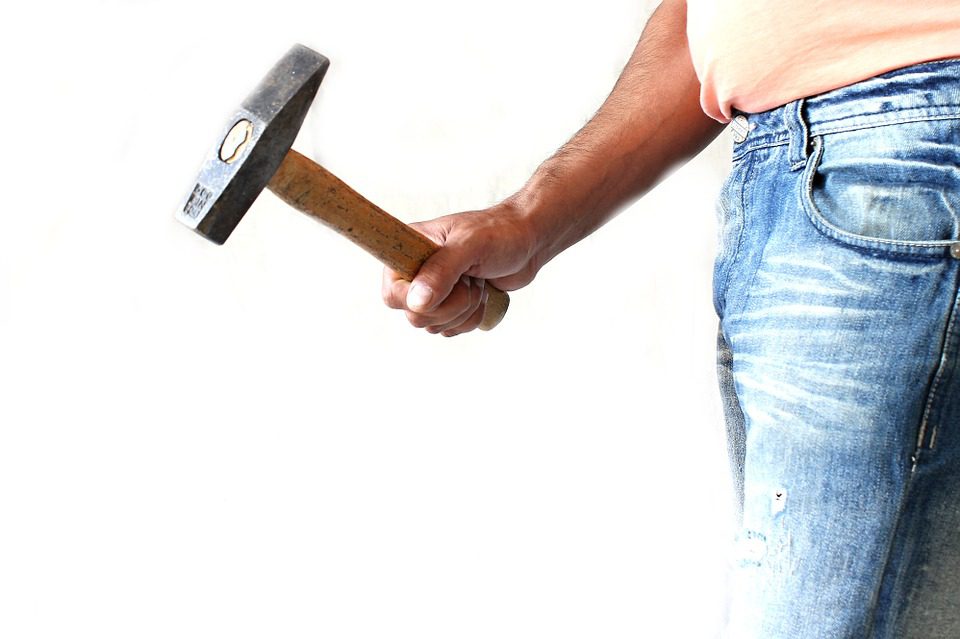
mallet
A mallet is used to provide the power behind your cut and once you get used to it, it allows a great deal of control. When you are just starting out in your wood carving journey a dead blow hammer or a joiners mallet can work if you already have one of those laying around. Especially the dead blow hammer is a good starting point. After carving a while you’ll soon find that a joiners is too big and clunky to give you the fine grained control you’re after when carving.

joiner mallet
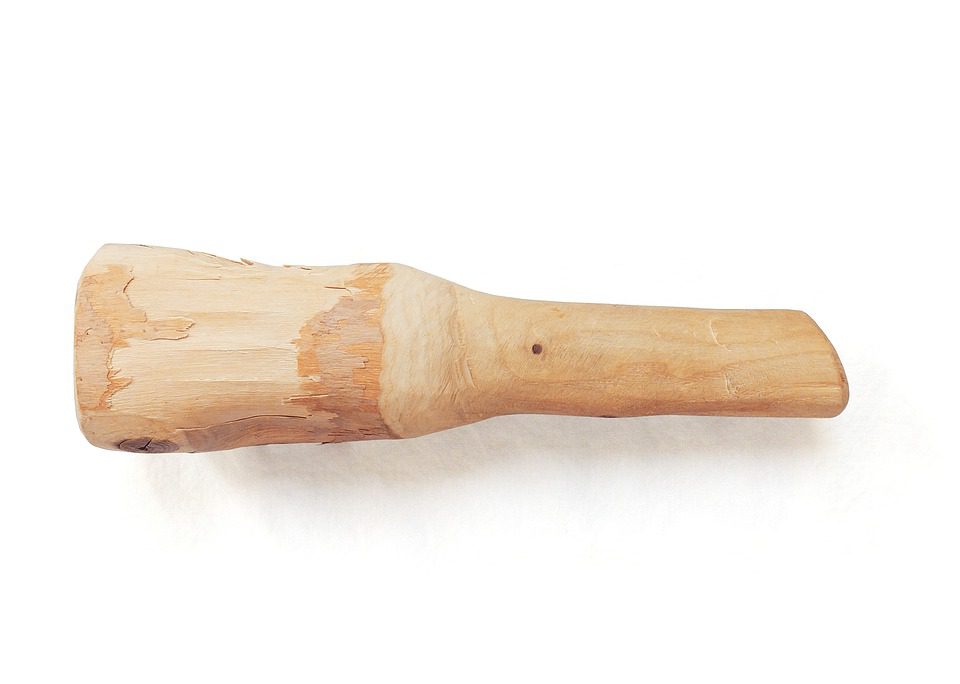
You could even use a big branch and make a rudimentary handle on it. This is often used by spoon carvers and carvers that work with green wood a lot. Whatever you decide to use, do not use a metal hammer. It will soon destroy the back end of you gouges.
The tool we are really after is a carvers mallet. It typically has a round head, which has a slightly smaller diameter towards the handle. This design allows a precise transfer of force to the back of the gouge. The head can made all sorts of materials such as wood, HDPE, nylon, brass, aluminum and so on. This makes for a wide variety and prices for a mallet. A metal mallet may be smaller since it has more weight, so some carvers prefer that. Other carvers, myself included are also wood turners and prefer to make their own mallets.
The weight of the mallet ranges from 300 grams to a kilo and can be a personal preference or depending on the type of sculpture. For larger sculptures, you will typically use larger gouges and a larger mallet so it is easier to apply more force. For a first mallet I would go for a medium weight between 400 and 500 grams. When starting out the weight doesn’t really matter that much except that your arm might get tired a bit quicker when using a heavier mallet. I personally didn’t even weigh my mallet, I just went with the bits of hardwood I had and made the largest mallet I could out of it.
If you are making a mallet yourself, you will want to use a piece of hardwood like maple, hawthorn, beech and so on. Tropical hardwoods are also suited, but usually more expensive. They quite dense, so they would be suited for making a smaller mallet with reasonable weight to it. Do stay away from wood species that tend to splinter like Wenge for instance. All wooden mallets wear out eventually, but these wood species might be so hard that chunks chip off after a while.
chisels, gouges, knives and more
There are many different brands out there and a handful of really good brands that are well known around the world. The idea of this series is to be an introduction, so I chose very cheap tools that should be accessible to most if not everyone. As good steel and manufacturing tools isn’t cheap you do get what you pay for. that being said even cheap tools can work well, but you will spend more time honing and sharpening them as they will probably have difficulty holding a sharp edge.
As with the mallets you could start with what you have, but most of you won’t have gouges. You can do wood carving with a regular chisel, a pocket knife, a box cutter or even a scalpel type tool, but that will be limited to whittling and chip carving. Also, some of these tools aren’t meant to be used like this, so safety is a concern.
Instead I selected very cheap tools that have a similar form and function to what I use regularly at a very affordable price. As said before they have some downsides, so I would consider upgrading after completing this course if you are going to continue to carve.
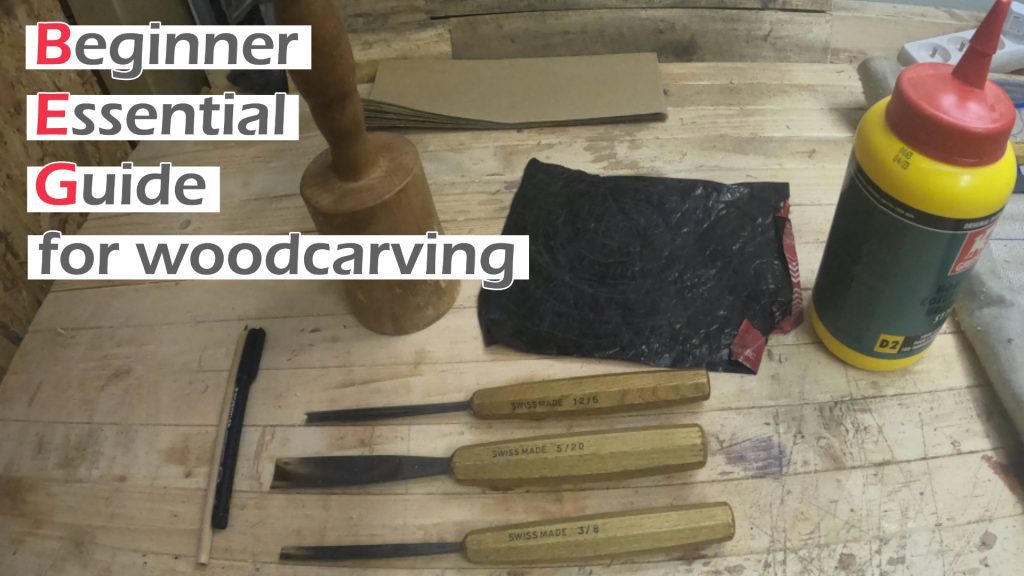
Besides brand and Quality, the basic tools you will need are a few gouges and a V tool. different tool companies may describe them in different ways, but for the most part a gouge is described by two numbers, the first being the depth of cove of the gouge and the second being the width of the cutting edge.
So, a 3/8 gouge will have a depth of 3mm and a width of 8mm. For a basic set I recommend a 3/8 and a 5/20 gouge. V tools use the same system and a good intermediate is a 12/6 (12mm deep, 6mm wide).
So now we have selected our set of three tools to start out with. If you are going for good quality brands these 3 tools alone will cost you between 60 and 100 EUR depending on brand, vendor and possible discounts. So even the low end of this (some of which were off brand copies of well known brands) was too much in my opinion for people just trying out if they even like carving.
So I decided to look around for very cheap alternatives and ended up with some of the well known Chinese vendors. The set I eventually chose is sold by Banggood and costs less then €20 for a set of 14 tools. That is quite the difference! For that price you even get a rasp with 4 different grits on each side and a pouch. Obviously they won’t be of the finest quality, but perhaps good enough to get a taste of the hobby for a very good price.
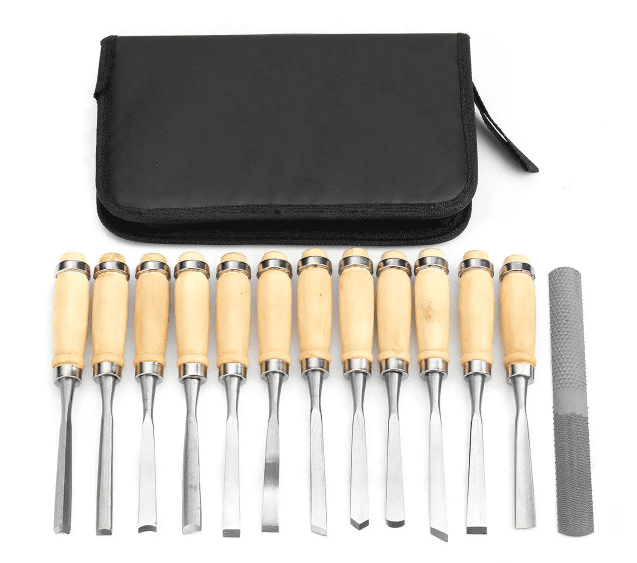
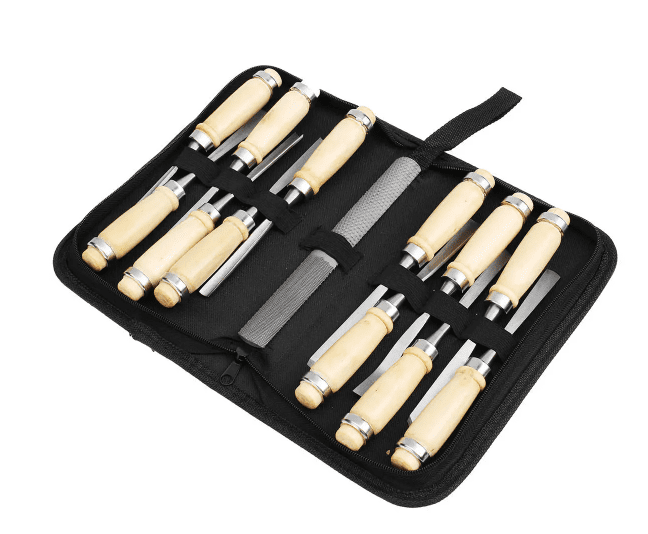
…. and then I received them. The are made from some type of soft metal and are really thick (not in a good way). The weren’t very sharp out of the box, which is fine and maybe safer for shipping. So I sharpened them with my water stone grinder. This usually takes seconds and takes off very little steel. That did not happen in this case. It took quite a while and when it was finally somewhat sharp, it lost a few millimeters in length.
So even though this is an extremely cheap set and I really wanted it to be sufficient for some basic exercises I can’t recommend these at all. Even with the temporary sharp edge, the steel was still too thick and soft to be efficient. I could have ground the heel down some more to make a thinner cutting edge, but then that would have made it way too fragile for harder wood species.
What I recommend instead is getting a good quality V tool only and using some regular chisels. The V tool is a must in my opinion as it is a very accurate and time saving tool. The 3/8 gouge is almost flat, so a narrow chisel can do the job (I’ll adjust some of the exercises for it). In case you don’t have any chisels I would still recommend getting at least the 3/8 gouge, but if you do have them we’ll make them work. A set of standard bench chisels can be found for around 20 EUR on amazon. These will be of sufficient quality as soon as you sharpen them and flatten the backside (some cheaper brands have a more hollow back side).
wood selection
Most if not all wood species can be used for carving, but usually hard wood species are used. The ideal wood for beginners (and pro’s as well) is lime or basswood. Although it is a hard wood it’s soft enough to allow easy carving and it doesn’t have too many crazy knots or grain direction in it.
Again, for this course use whatever wood you can get your hands on but try to avoid very soft wood such as pine. Even some pallet wood can be used HOWEVER fair warning when using any reclaimed, upcycled or otherwise reused material… There may be bits of metal (old screws/nails/barbed wire), stone or other foreign materials in there. None of these are very good for the sharp, somewhat fragile edge of your gouges. Even though the set we’ll be using doesn’t break the bank, there are more fun things besides regrinding a chipped edge… such as carving.
Some nice wood species for carving can be found in a home improvement center under the label “hardwood” this could be anything from meranti, sapele or oak. You could also check out a local lumberyard and see if they have any left over pieces from custom orders. These offcuts are usually sold at a discount. Meranti is a good species to start with as well it can chip out if mistreated… but we’ll get to that in a later chapter.
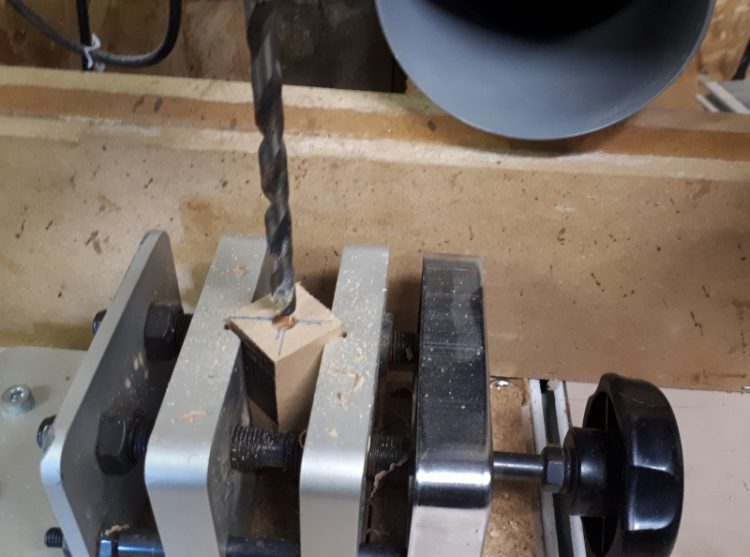
securing a workpiece
This is one area where there are many solutions to the same problem. Depending on the size and shape of your workpiece several options are available to hold it steady while you work:
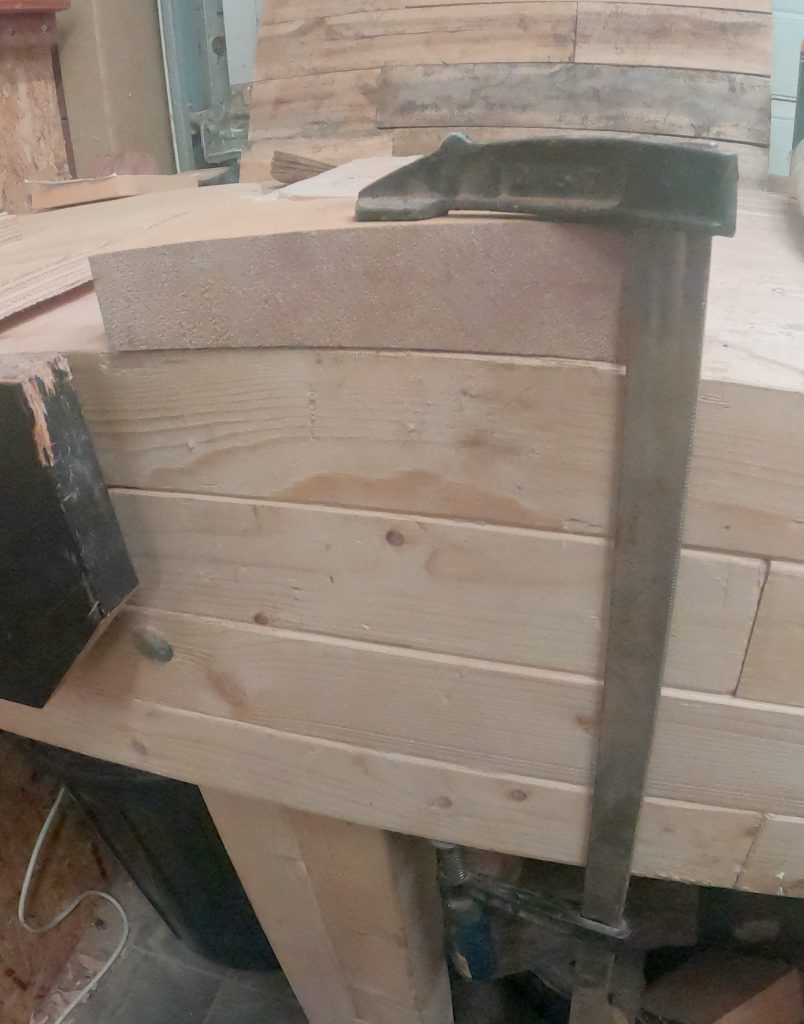
- using clamps to secure it to a table or workbench
- use a bench vise (or any other type of vise)
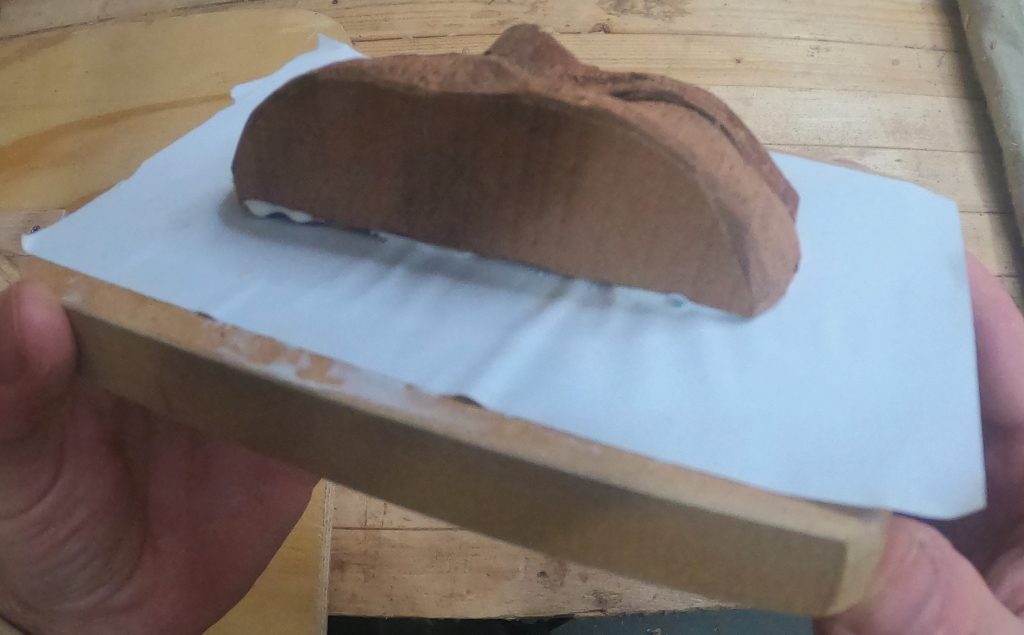
- glue the workpiece to a larger board and clamp that onto a table or workbench
- screw or clamp some small blocks around your workpiece either into the workbench or a larger board.
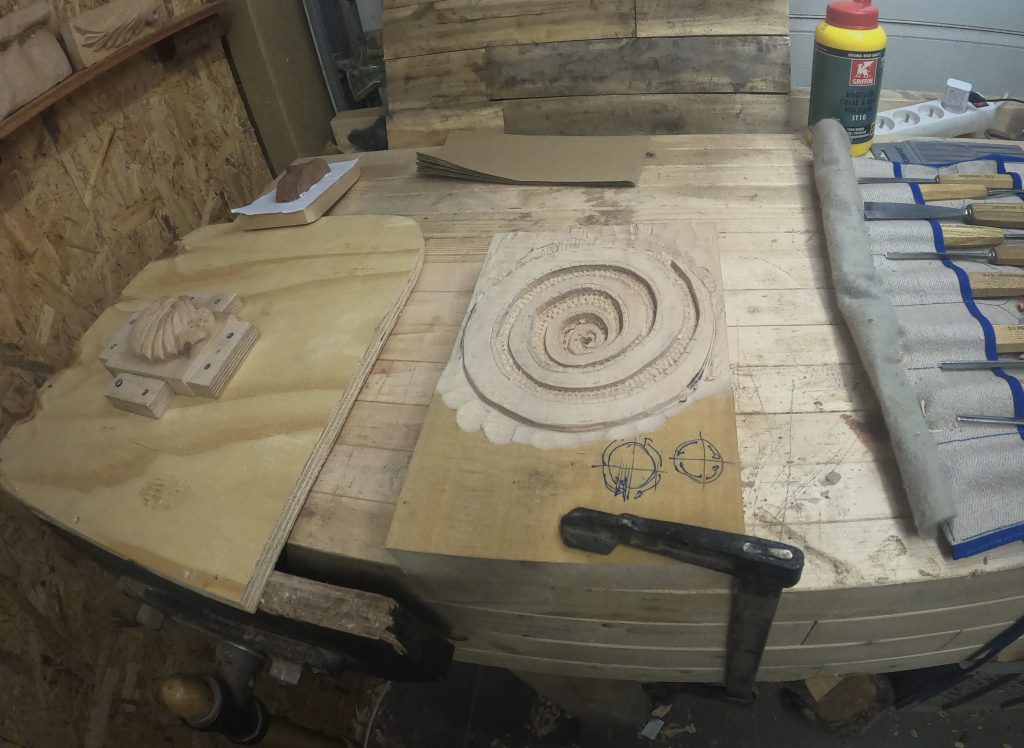
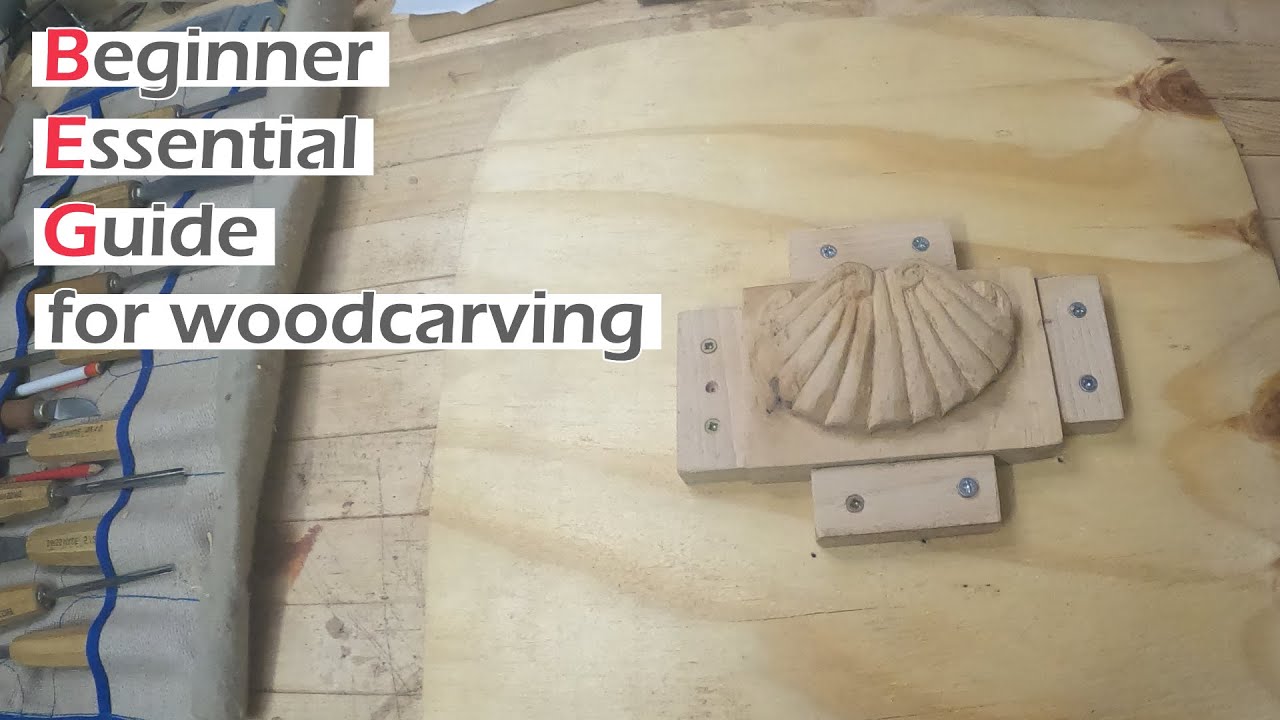
For relief carving and most carvings that have a flat underside I prefer the last option. Screw a block around the piece on each side so it can’t move when you’re carving. You can still lift it straight up and turn it around if you need to.

Carving techniques
There are a few basic practice you might want to get into from the get go. The first one is carving left and right handed. If you’re a beginner, you haven’t learned to carve with either hand so they both start from scratch. This is the ideal time to start practicing carving with your left and right hand. This will come in handy when you’re working on details or in an area you can only get to with one hand or the other. This also helps when the material has funky grain going in all sorts of directions. Instead of moving the piece or around the piece, you can simply switch hands.
The second is tool control with and without a mallet. In the beginning you might think that working with your hands will give you more control then using a mallet. However in many cases it is easier to apply a consistent amount of force on the tool with a mallet. There are use cases for both, in time it will become second nature and you’ll switch between using a mallet or using both hands regularly.
Exercises
holding a gouge or V tool
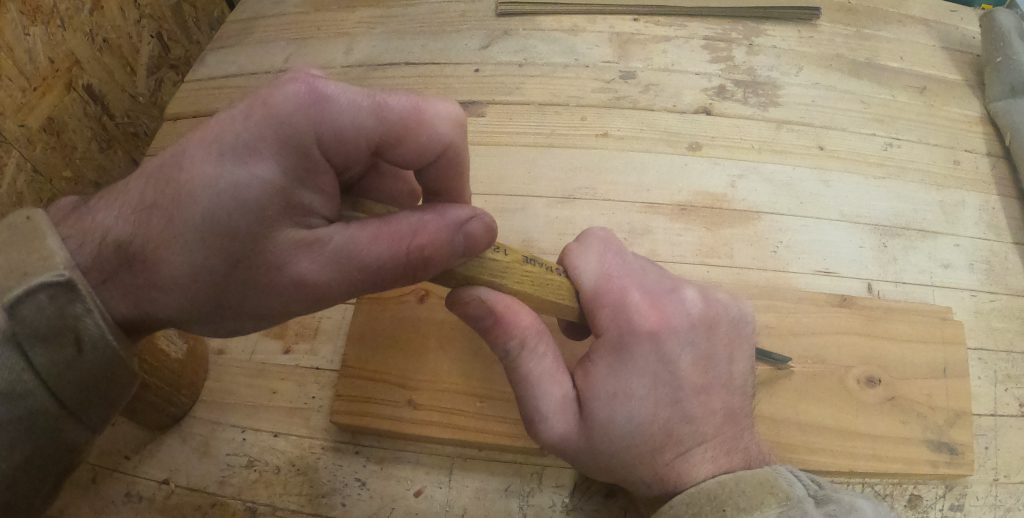
While you will typically hold a chisel by the handle, this doesn’t give you the best control for fine details. It is far better to hold a gouge or V tool by the metal end, closed to the blade. this allows you to use your wrist in a firmer grip, while still having a full range of motion.

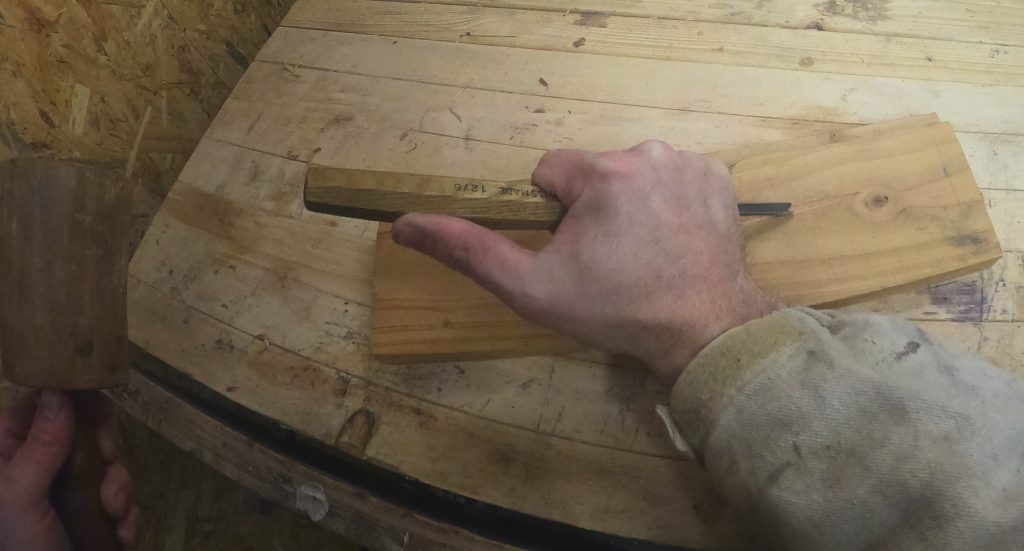
This is how you would work with a mallet and gouge.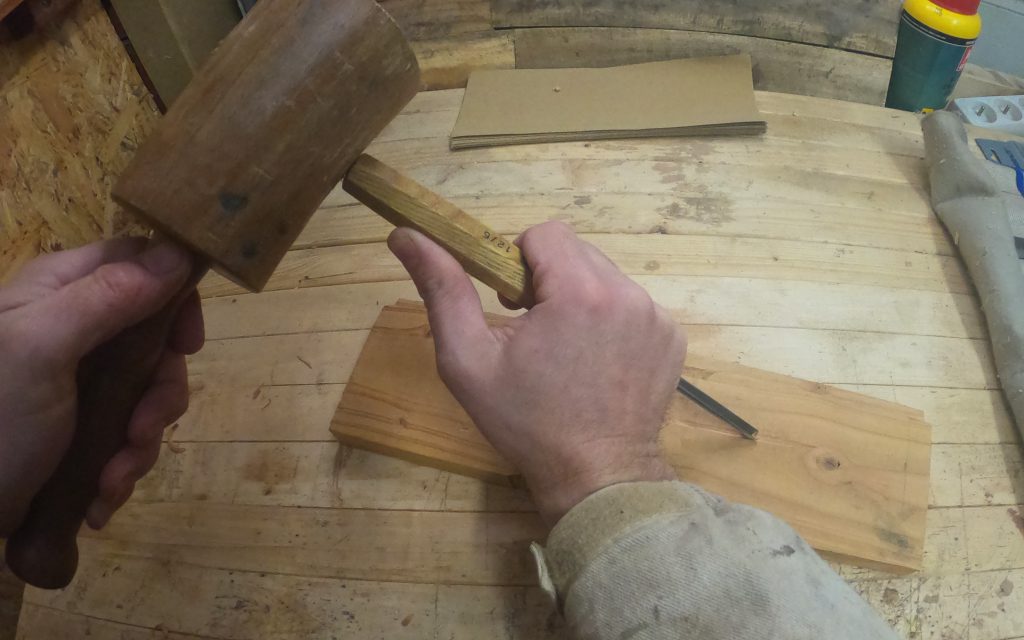
Compare that to holding a bench chisel, you grab that by the handle. It requires less fine grained control but on average more power.
Using a mallet will give you full control over the force you put on to the cutting edge. It will take a bit of practice to get used to working with a mallet in your non-dominant hand, but trust me it’s worth it in the end.
For very fine details and work in softer woods you can just use your second hand to provide the force needed to cut. On harder wood species or species with a lot of knots, this is not ideal. This is because the softer parts will cut fine and then your cutting edge hits a harder part. It very easy to put too much for on the chisel at that time to make it slip or cut too deep.
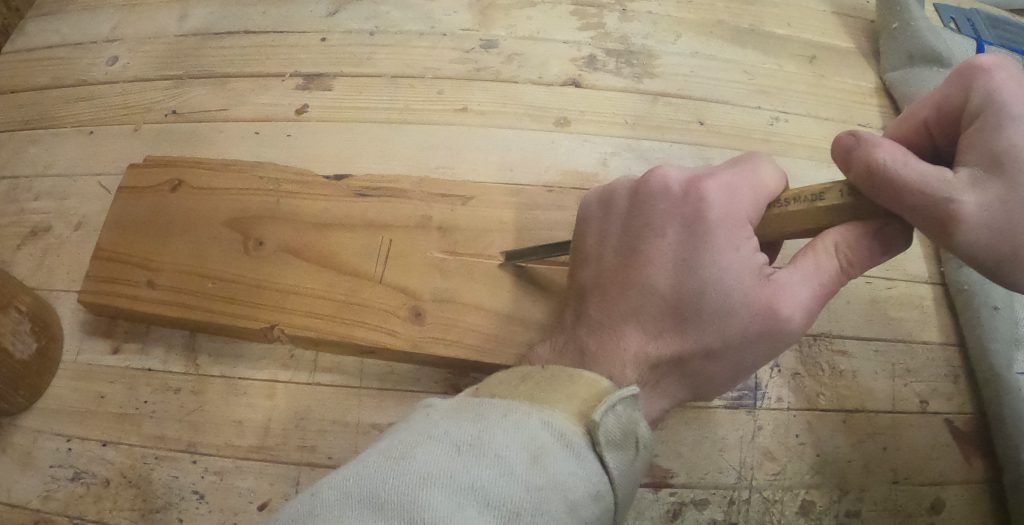
carving lines
remark: I will update this page later with some pictures and a video once that is done.
This exercise will allow you to practice carving with both hands. I would suggest using a softer wood such as lime but you can use hard wood if you like, you might have to use the mallet though where as you can just use both hands on softer wood. With this exercise we are familiarizing ourselves with the V tool. A very important tool for separation surfaces, defining edges and carving lines.
The exact dimensions of your work piece aren’t really important. Take any rectangular piece and mark and even number of lines on it, about 10mm or half an inch apart. if you can get 6 lines on it, that would be ideal, if not you can always draw a line across the centre of it and use both sides as a line
We will use the V tool to carve out the lines. Carving from left to right with the right hand and from right to left with your left hand. This way both hands get equal amount of practice with each set of lines. You don’t have to carve very deep, it’s better to use a second pass instead. If you carve too deep in a single pass, the wood in front of you tool has too much support and applying the force needed to carve through it, might split, splinter or crack the wood.
How deep is deep enough? That depends on where you are cutting, how dense the wood is and some other factors. This is something you will get a feeling for while practicing.
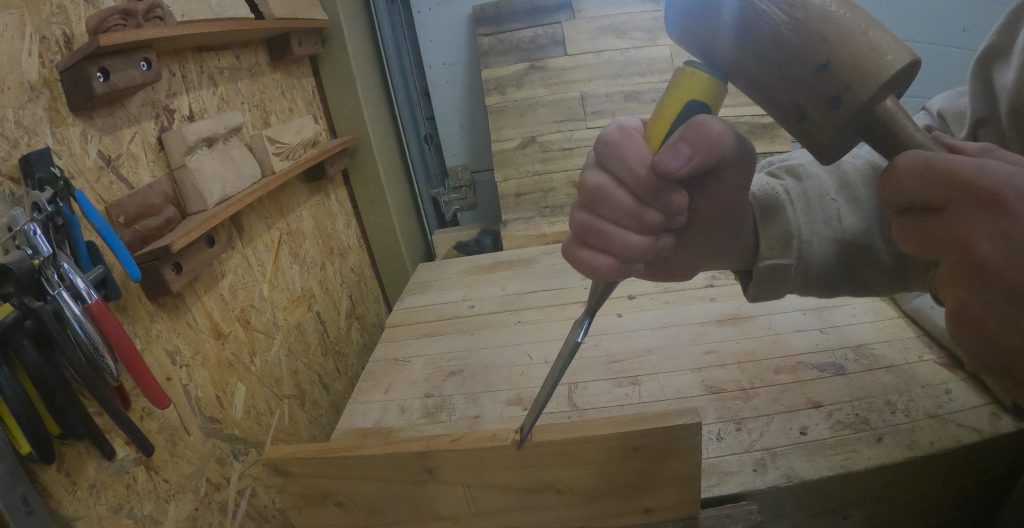
for the first set of lines (line 1 and 2) point the V tool straight up. This will allow you to carve a V shape with 2 equal sides. Focus on keeping that V straight up and try to carve as close to (or on) the line as you can.
You might get some uneven sides or strange lines in the groove you’re cutting. This is because the V tool is slightly tilted in one direction. The result doesn’t have to be perfect. This exercise is all about getting to know the tool and practicing controlling it.
Carve the next set of lines while holding the left edge of the V tool straight up. You will notice as you carve that one side of the groove is vertical and the other at an angle. This is the preferred way to carve along the outside of an image to create an outline. Basically hold the V tool in a way that the vertical edge is on the good side of the carving and the angled edge is on the waste side of the carving.
Repeat this process for the last set of lines, holding the right edge of the V tool straight up.
When you are done, you should end up with something similar to the picture below. Don’t worry if your lines aren’t straight or you had some tear out or any other mistake, it’s just a practice piece after all.